Getting started
What SXL Studio is, how to install the plugin from Figma Community, run it in Design Mode and Dev Mode, and where designers and developers should start.
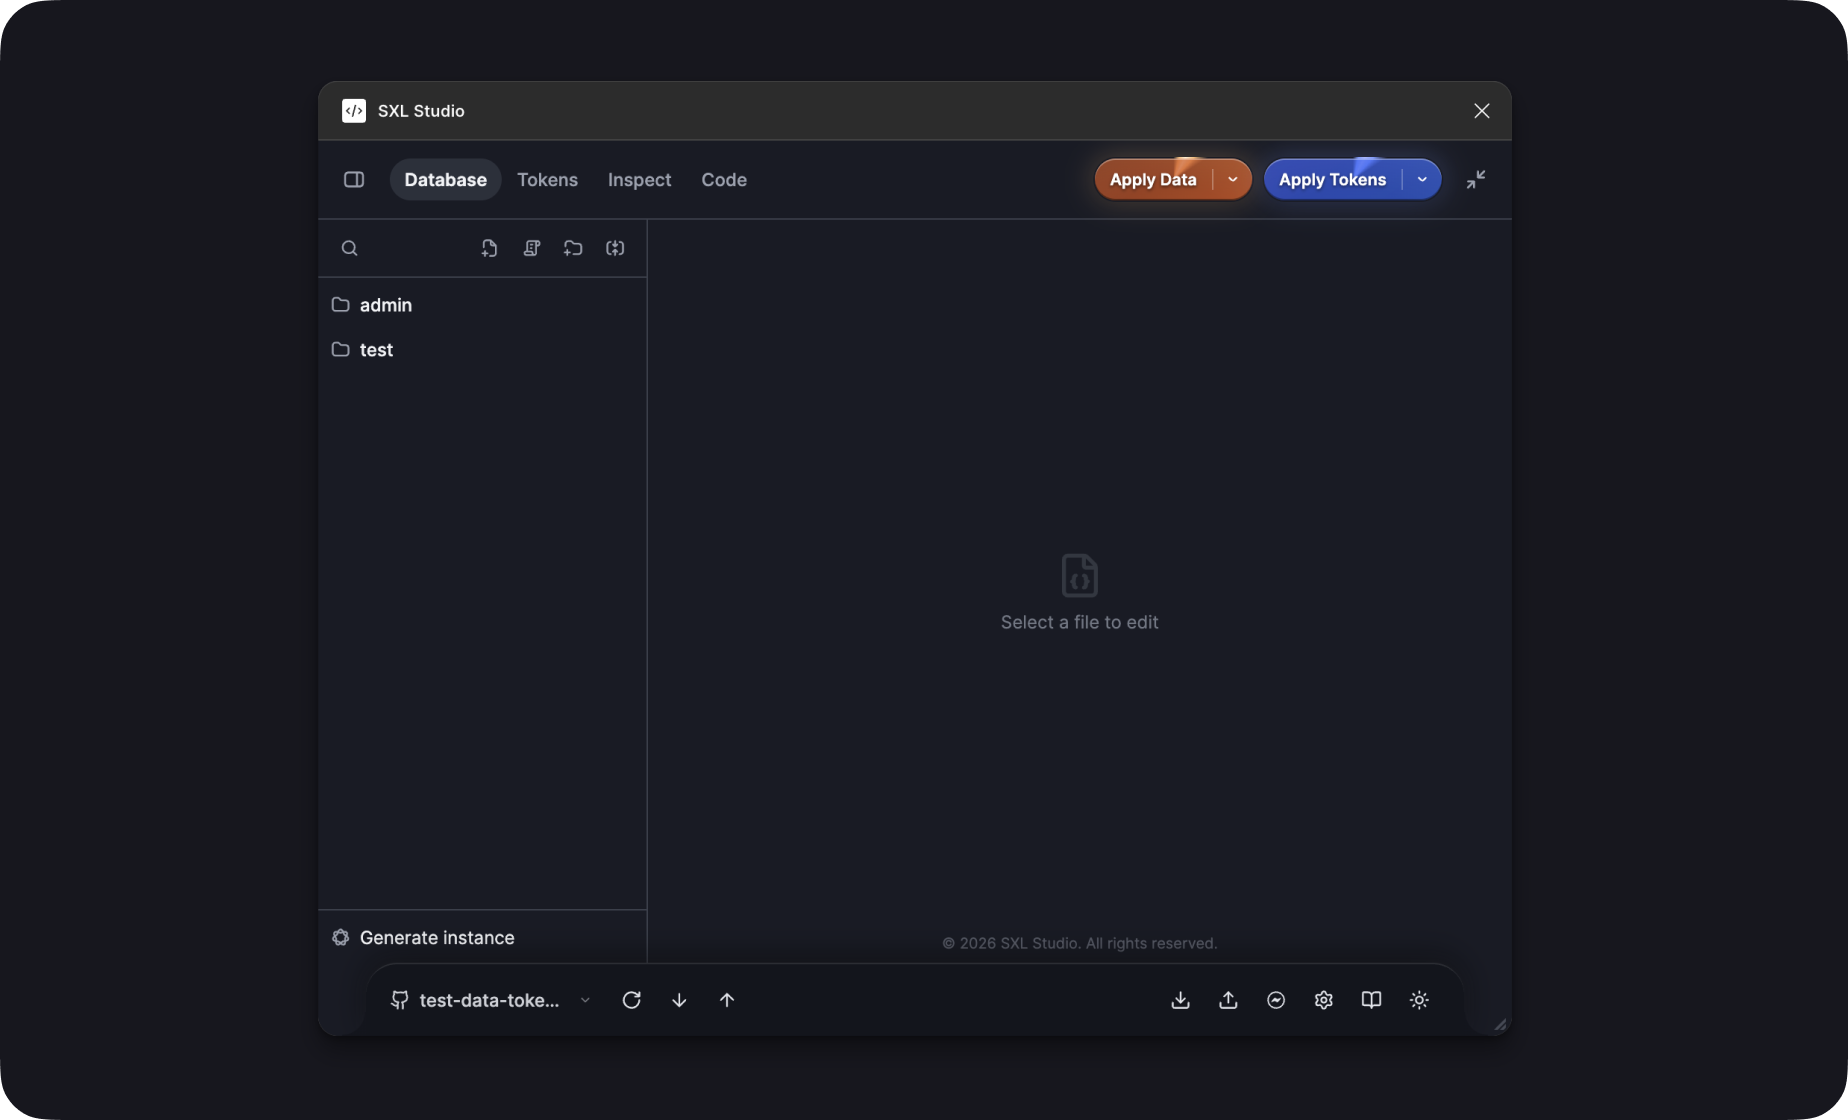
SXL Studio is a Figma plugin for treating a design system like code. Tokens live in JSON files; the plugin turns them into Figma variables and styles, applies them to designs, checks bindings and hands developers ready code. All plugin features are free.
What is in SXL Studio
- The SXL Studio plugin for Figma files: the Tokens, Database, Inspect and Code Connect tabs in Design Mode, and the Inspect, Object model, Code and Code Connect panels in Dev Mode.
- Utilities for the development team: Bridge links the plugin with local files and AI agents, Transformer turns tokens into CSS, Swift and Kotlin, Resolver shows token values in VS Code, Storybook Addon shows how components relate to Figma.
Who should read what
| Role | Where to start |
|---|---|
| Designer | UI overview → Tokens tab → Exporting variables and styles → Inspect |
| Developer | Dev Mode → Code generation → Code Connect |
| Design system owner | Token sources and synchronization → Collections → Tokens to code |
What you need
- A Figma Design file you can edit.
- The SXL Studio plugin from Figma Community. If plugins are restricted in your organization, ask an administrator to approve SXL Studio.
- Dev Mode requires Dev Mode access under your Figma plan. See Figma's Guide to Dev Mode.
- Git synchronization needs a GitHub or GitLab repository and an access token. Local Workspace and Local Storage need a running SXL Bridge. You can start without either.
Install and first run in Design Mode
- Open the SXL Studio page in Figma Community and press Install. If the plugin is already installed, the button says Open in Figma.
- Open your working file in Figma Design.
- Run the plugin any way you like: Resources (
Shift + I) → Plugins → SXL Studio; or right-click the canvas → Plugins → SXL Studio; or quick actions (Cmd/Ctrl + /) → "SXL Studio". - The plugin opens on the Tokens tab. The collection and file tree is on the left, the editor area on the right, and the footer with the data source at the bottom.
On the first run the source is Plugin Local: files are stored inside the plugin on your computer. To get tokens, pick one of these paths:
- Import variables & styles at the bottom of the Tokens tab: the plugin reads the variables and styles of the current Figma file and creates JSON files from them. See Import from Figma.
- Import from computer in the footer: load a folder with token JSON, for example one you exported earlier.
- Sync settings in the footer: connect a GitHub or GitLab repository and press Pull. See Token sources and synchronization.
A designer's first 10 minutes
- Open any token file in the tree: the visual editor appears on the right with token groups by type.
- Press Export variables & styles, tick the collections and types you need, press Export. Collections and variables appear in Figma's Variables panel, text and colour styles in the styles panel.
- Select a frame on the canvas and press Apply Tokens: the plugin binds variables to layers by token names.
- Open the Inspect tab to see the bindings of the selected layer.
Running in Dev Mode for developers
- Open the same file and switch to Dev Mode (
Shift + D). - You can get the code of the selected layer without opening the plugin: in the native Code panel choose an SXL Studio language: Vue 3, React, SwiftUI, UIKit, Kotlin, DivKit or JSON.
- The full plugin panel opens from the Plugins tab in the right Dev Mode panel or from Resources → Plugins → SXL Studio. It has four panels: Inspect, Object model, Code and Code Connect.
- Select layers on the canvas: the panels show properties, token bindings, dimensions and generated code.
More: Dev Mode.
If the plugin does not open
- Close and reopen the file, then run SXL Studio from Resources.
- Check that your organization's policy allows the plugin.
- For Dev Mode, check that your account has Dev Mode access.
- Reinstall the plugin from Community.
Where to get help
- The Help & Documentation button in the plugin footer opens this site.
- The Diagnostics tab in the Sync settings window shows the connection state and collects a report for support: Diagnostics.