Dev Mode
How SXL Studio works in Figma Dev Mode: the languages in the Code panel, the compact plugin window with the Inspect, Object model, Code and Code Connect tabs, the AI agent prompt, image export and the limits of the mode.
In Dev Mode the plugin becomes a developer tool: for the selected layer it shows component details, dimensions and spacing with tokens, generates code for Vue 3, React, SwiftUI, UIKit, Kotlin, DivKit and JSON, and links Figma components with repository files.
Two entry points
| Where | What is available | When it is handy |
|---|---|---|
| The Code panel in Figma Dev Mode | SXL Studio languages in the panel's language list: Vue 3, React, JSON (Design), SwiftUI, UIKit, Kotlin, DivKit | A quick look at the code without opening the plugin |
| The plugin window in Dev Mode | The Inspect, Object model, Code and Code Connect tabs | A full breakdown of the layer, generation settings, linking to code |
To open the plugin in Dev Mode, switch the file to Dev Mode, open the Plugins section of the right panel and choose SXL Studio. The plugin window docks into the right panel.
The Inspect tab
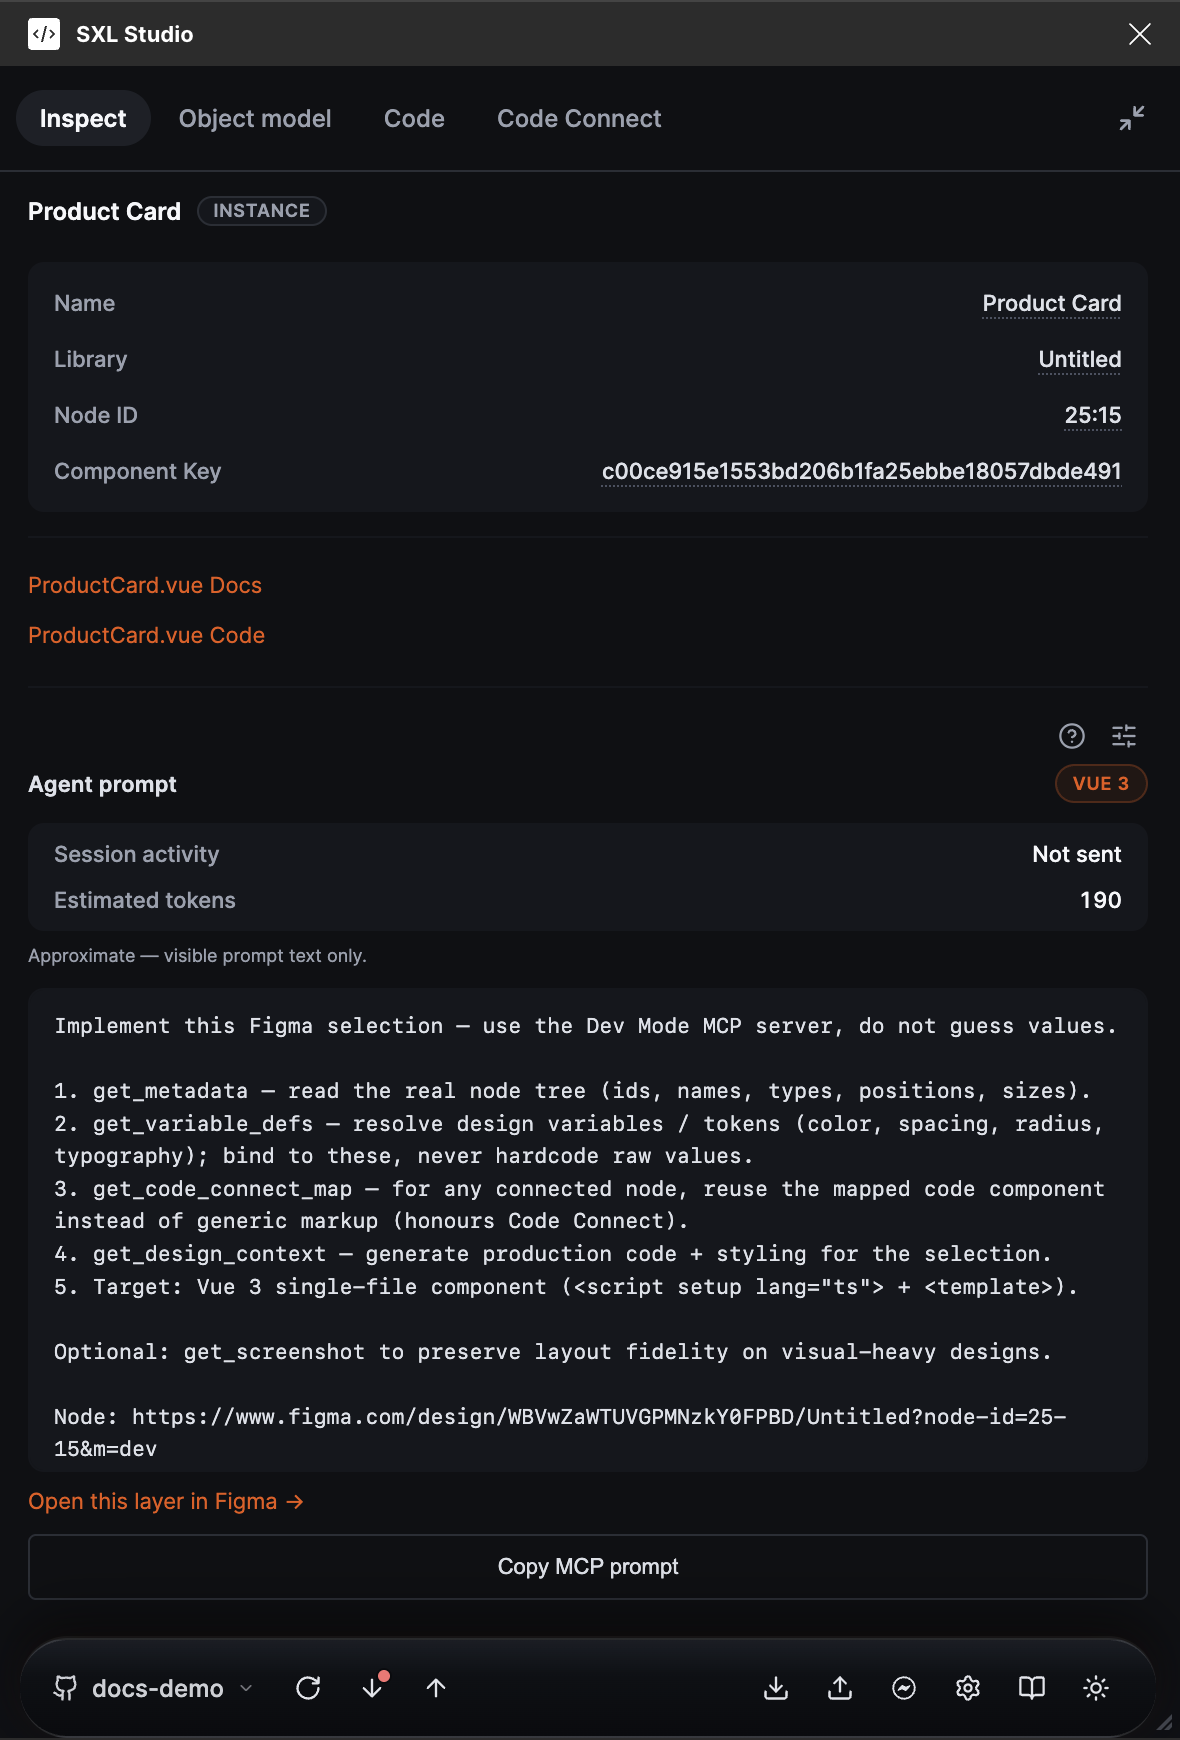
The Inspect tab in Dev Mode: component details, documentation and code links, the AI agent prompt.
| Block | What it shows |
|---|---|
| Header | The layer name and its type |
| Details | Name, Library, Node ID, Component Key. Values are copied on click |
| Links | Docs and Code links to files bound through Code Connect or set in the repository settings |
| Agent prompt | A ready prompt for an AI agent with steps through Figma's MCP server and a link to the layer. The target language is chosen with the badge, for example VUE 3. The Copy MCP prompt and Open this layer in Figma buttons |
While nothing is selected, the tab suggests picking a frame, component or instance on the canvas and offers the Export Asset… button for image export.
The Object model tab
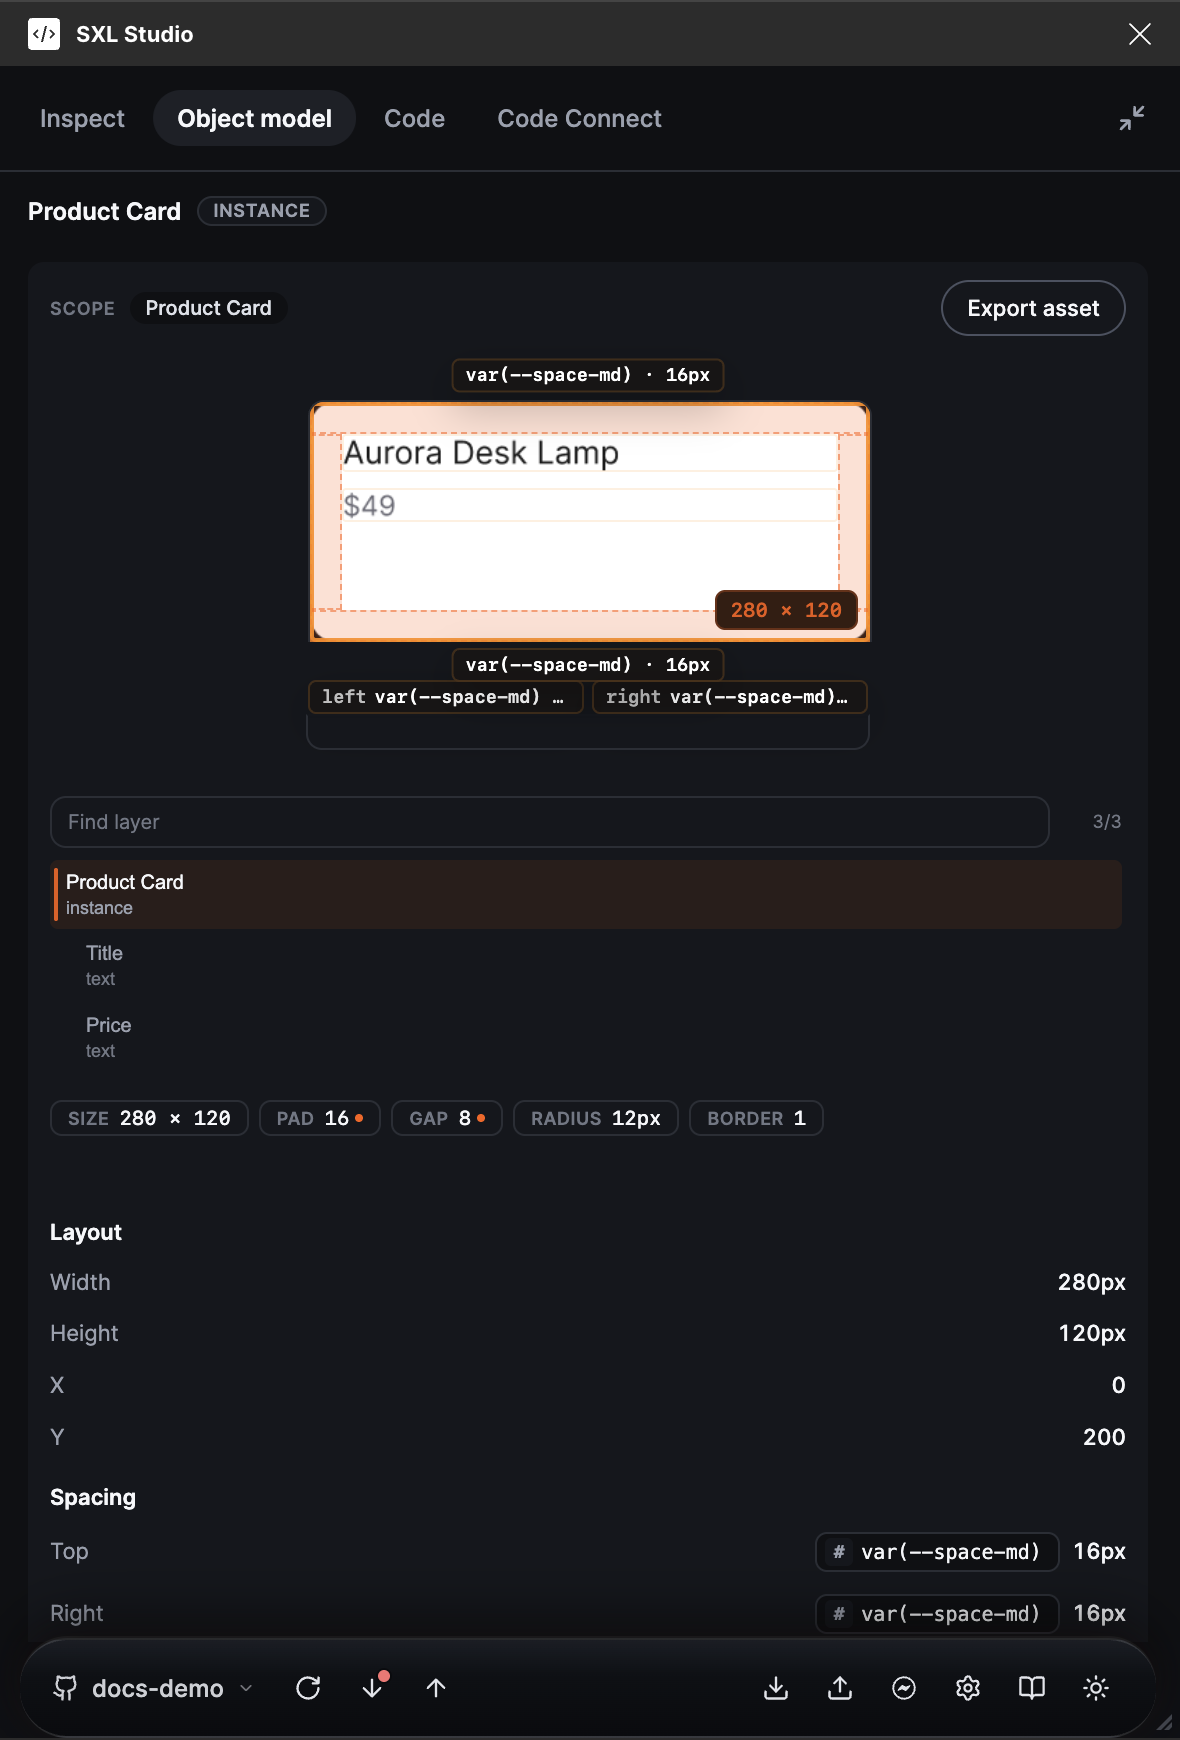
Object model: the spacing diagram with tokens, the layer list and the Layout and Spacing tables.
- The scope chips at the top switch between the selected layer and its nested components.
- Export asset opens image export for the current layer.
- The diagram shows padding, gaps and sizes with variable names, for example
var(--space-md). - The Find layer field and the layer list let you pick a nested layer without going back to the canvas.
- Below are the resolved values: size, padding, gap, radius, border, plus the Layout and Spacing tables with tokens next to every value.
The Code tab
Code generation for the selection: language and section choice, the Decomposed and Raw modes, copying and per-file generation settings. Details: Code generation.
The Code Connect tab
The repository workspace: the tree of .vue files from the code folder of the Git connection on the left, an editor with the View diff, Save & Publish and Connect buttons on the right. Here components are edited and bound to Figma layers. Details: Code Connect and Storybook and Editing Vue.
Footer
The footer in Dev Mode is the same as in Design: the current source and branch, Pull and Push, synchronization settings. Tokens and data are not edited in Dev Mode; switch to Design for that.
Image export
Raster export is available from the empty state of the Inspect tab, from Object model and from the footer. Every path opens the Download window on the Export Asset tab. Details: Exporting images.
Limits of Dev Mode
- Canvas changes are not available in Dev Mode: the plugin only reads layers.
- Figma may restrict writing service data onto layers. Code Connect bindings are still saved to the registry file in the repository; to pin them on the layer itself, open the file in Design.
- The Dev Mode plugin list shows only plugins with Dev Mode support; SXL Studio is one of them.
Recommended order for a developer
- Set up Repository connection once on the Code Connect tab.
- Select a component and check the code on the Code tab, switching languages.
- Open the needed
.vueon the Code Connect tab, make the edits, view the diff and publish. - Bind the implementation to the component with the Connect button or through the full Code Connect form.